[How to] Magnet

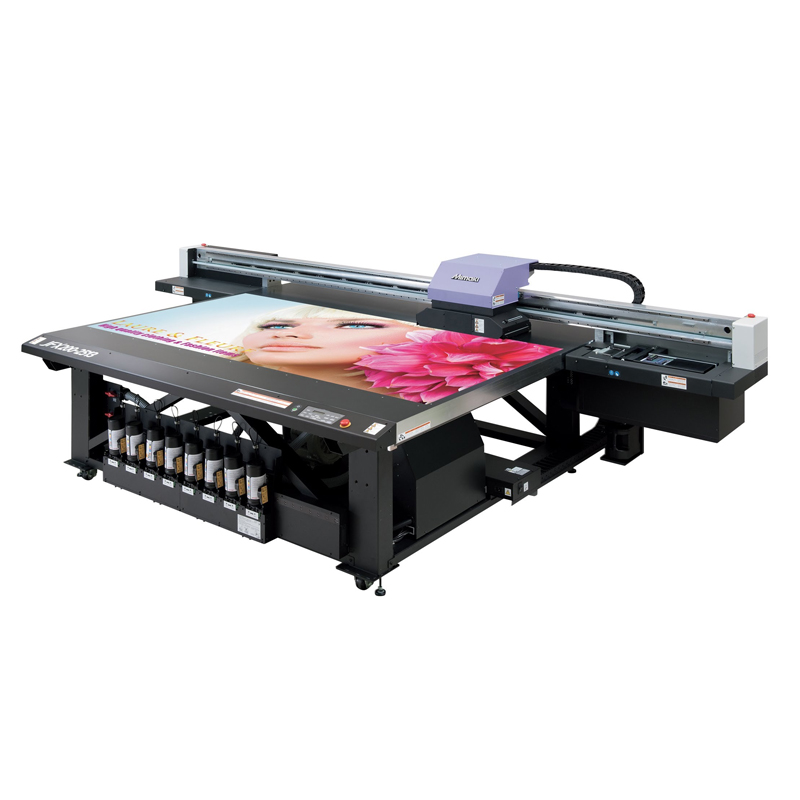
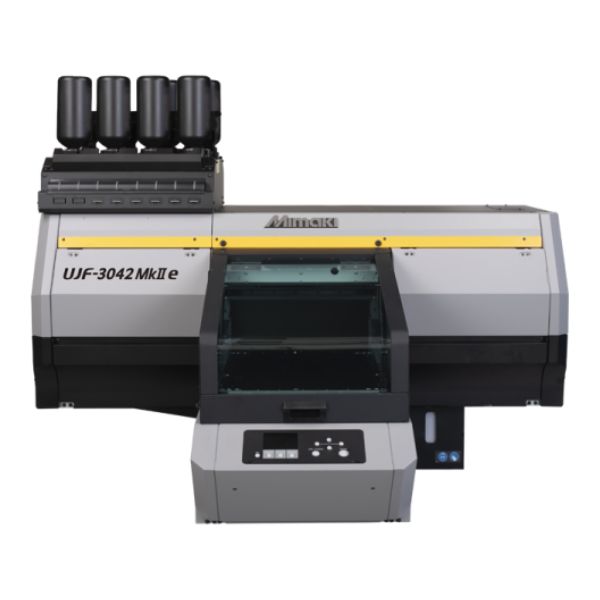
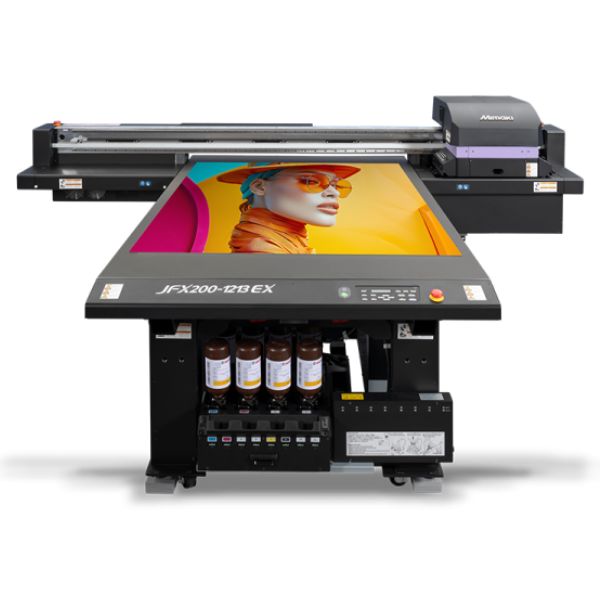
Let’s see how to make the magnet sheet with UV curable inkjet printer for direct printing and cutting by cutting plotter.
The next work process can be started immediately because of using the ink curing by UV (ultra violet) without the need of drying time.

1. Data creation

Using the design creation software Illustrator, with its plug-in cutting software [FineCut], create a Print & Cut EPS-format document.

2. Print the data


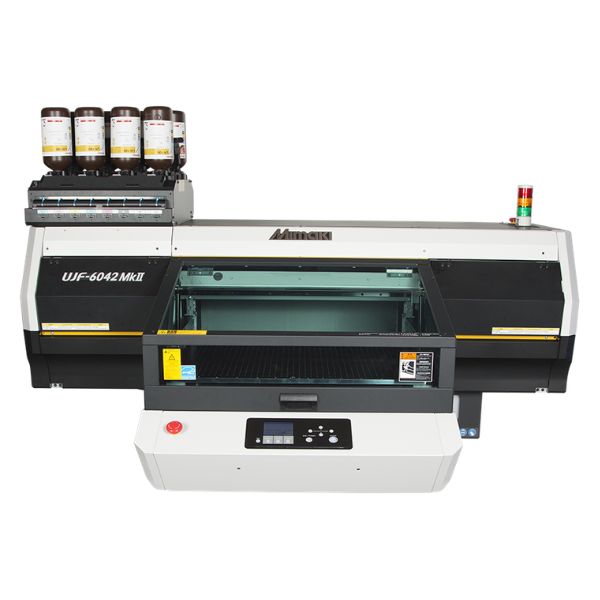
For the first, please print the data on a magnet sheet using the UV curable flatbed inkjet printer and RIP software [RasterLink].

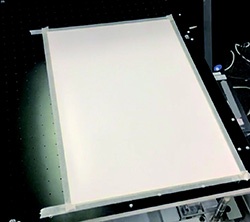
Have a taping of the edge of the sheet with masking tape
2-1. Set the magnet sheet.

In order to prevent the printer head from hitting the sheet, have a taping of the edge of the sheet with masking tape.


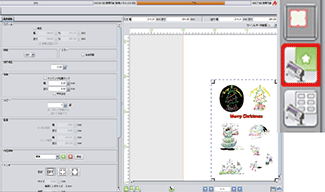
Confirm the print condition and print place
2-2. Open [RasterLink] of the PC connected to the printer and input the data to confirm the print condition and print place.


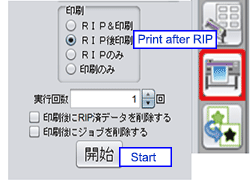
Print after RIP

 
2-3. When they are confirmed, you can start printing.

Select ‘Print after RIP’ and click ‘Start’ button.
Printing starts after switching the printer to “Remote” mode.


3. Cutting


Next, cut with the Flatbed cutting plotter and [FineCut].
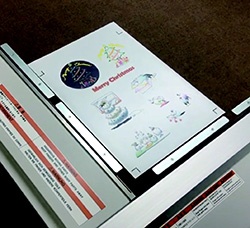
the magnet sheet on the cutting plotter

3-1. Place then the magnet sheet on the cutting plotter.
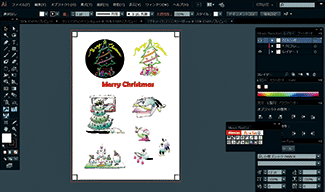


Open the data with Illustrator
3-2. Open the data with Illustrator of the PC connected to the cutting plotter.


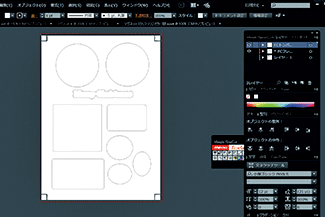
cutting lines and register marks
3-3. Hide every layer except the cutting lines and the register marks layers.
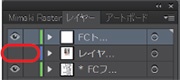
close the eye

Click on the eye symbol in the layer menu to close the eye to hide a layer.
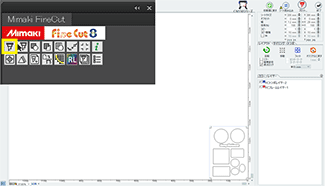


setting cutting condition


3-4. Select all the cutting lines and the register marks with [Ctrl] and [A] buttons and open the window for setting cutting condition of [FineCut].

Uncheck the registration marks not to cut.


3-5. Detect the register marks printed by the printer with sensor. Then switch to [Remote] mode of the cutting plotter.

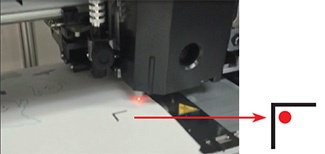
Set the red pointer inside the corner of the register mark to recognize it.
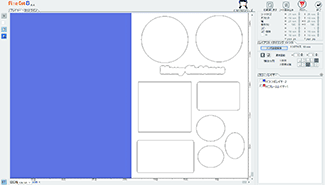
red pointer inside the corner

Detect Mark

3-6. Back to the PC window and click on the [Register Mark] tab and select [Detect Mark] to detect the register marks.


FineCut8: Plot
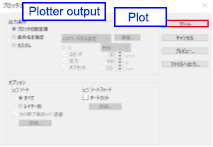
3-7. Click the [Plot] button to start cutting!


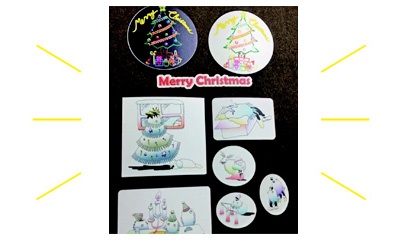
3-8. The original magnet is completed after cutting.

Finish!

Applicable product