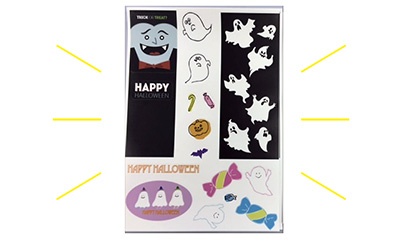

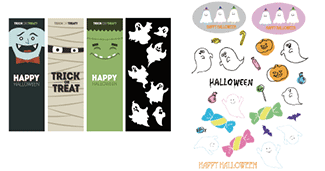
 Using the design creation software Illustrator, with its plug-in cutting software [FineCut], create a Print & Cut EPS-format document.
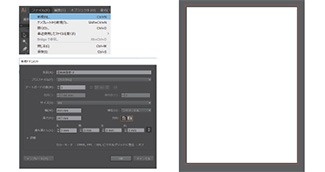 1-2. Please open a new artboard of A4 size from [New] of [File]. Choose your favorite design and arrange it on the artboard.
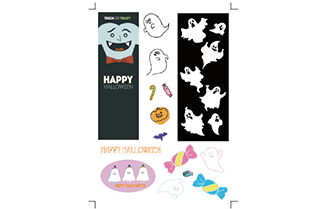
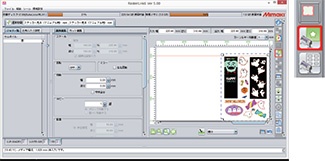
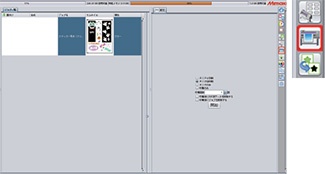
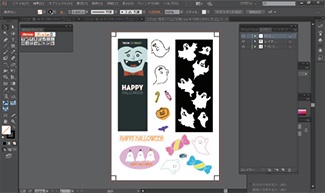
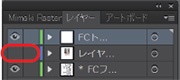
Click on the eye symbol in the layer menu to close the eye to hide a layer.
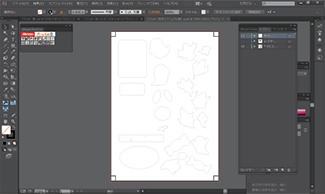
![setting cutting condition of [FineCut8]](https://d2w577gk9zpoty.cloudfront.net/archives/120/201809/d80de89f755868df064487d8319f2b5a.jpg) 3-3. Select all the cutting lines and the register marks with [Ctrl] and [A] buttons and open the window for setting cutting condition of [FineCut].
3-3. Select all the cutting lines and the register marks with [Ctrl] and [A] buttons and open the window for setting cutting condition of [FineCut].
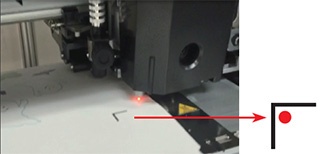 3-4. Detect the register marks printed by the printer with sensor. Then switch to [Remote] mode of the printer.
Set the red pointer inside the corner of the register mark to recognize it.
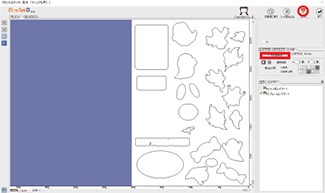 3-5. Back to the PC window and click on the [Register Mark] tab and select [Detect Mark] to detect the register marks.
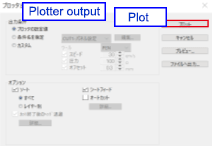 3-6. Click the [Plot] button to start cutting!